
Screen recording
Record with the microphone, device audio or both. Pro.
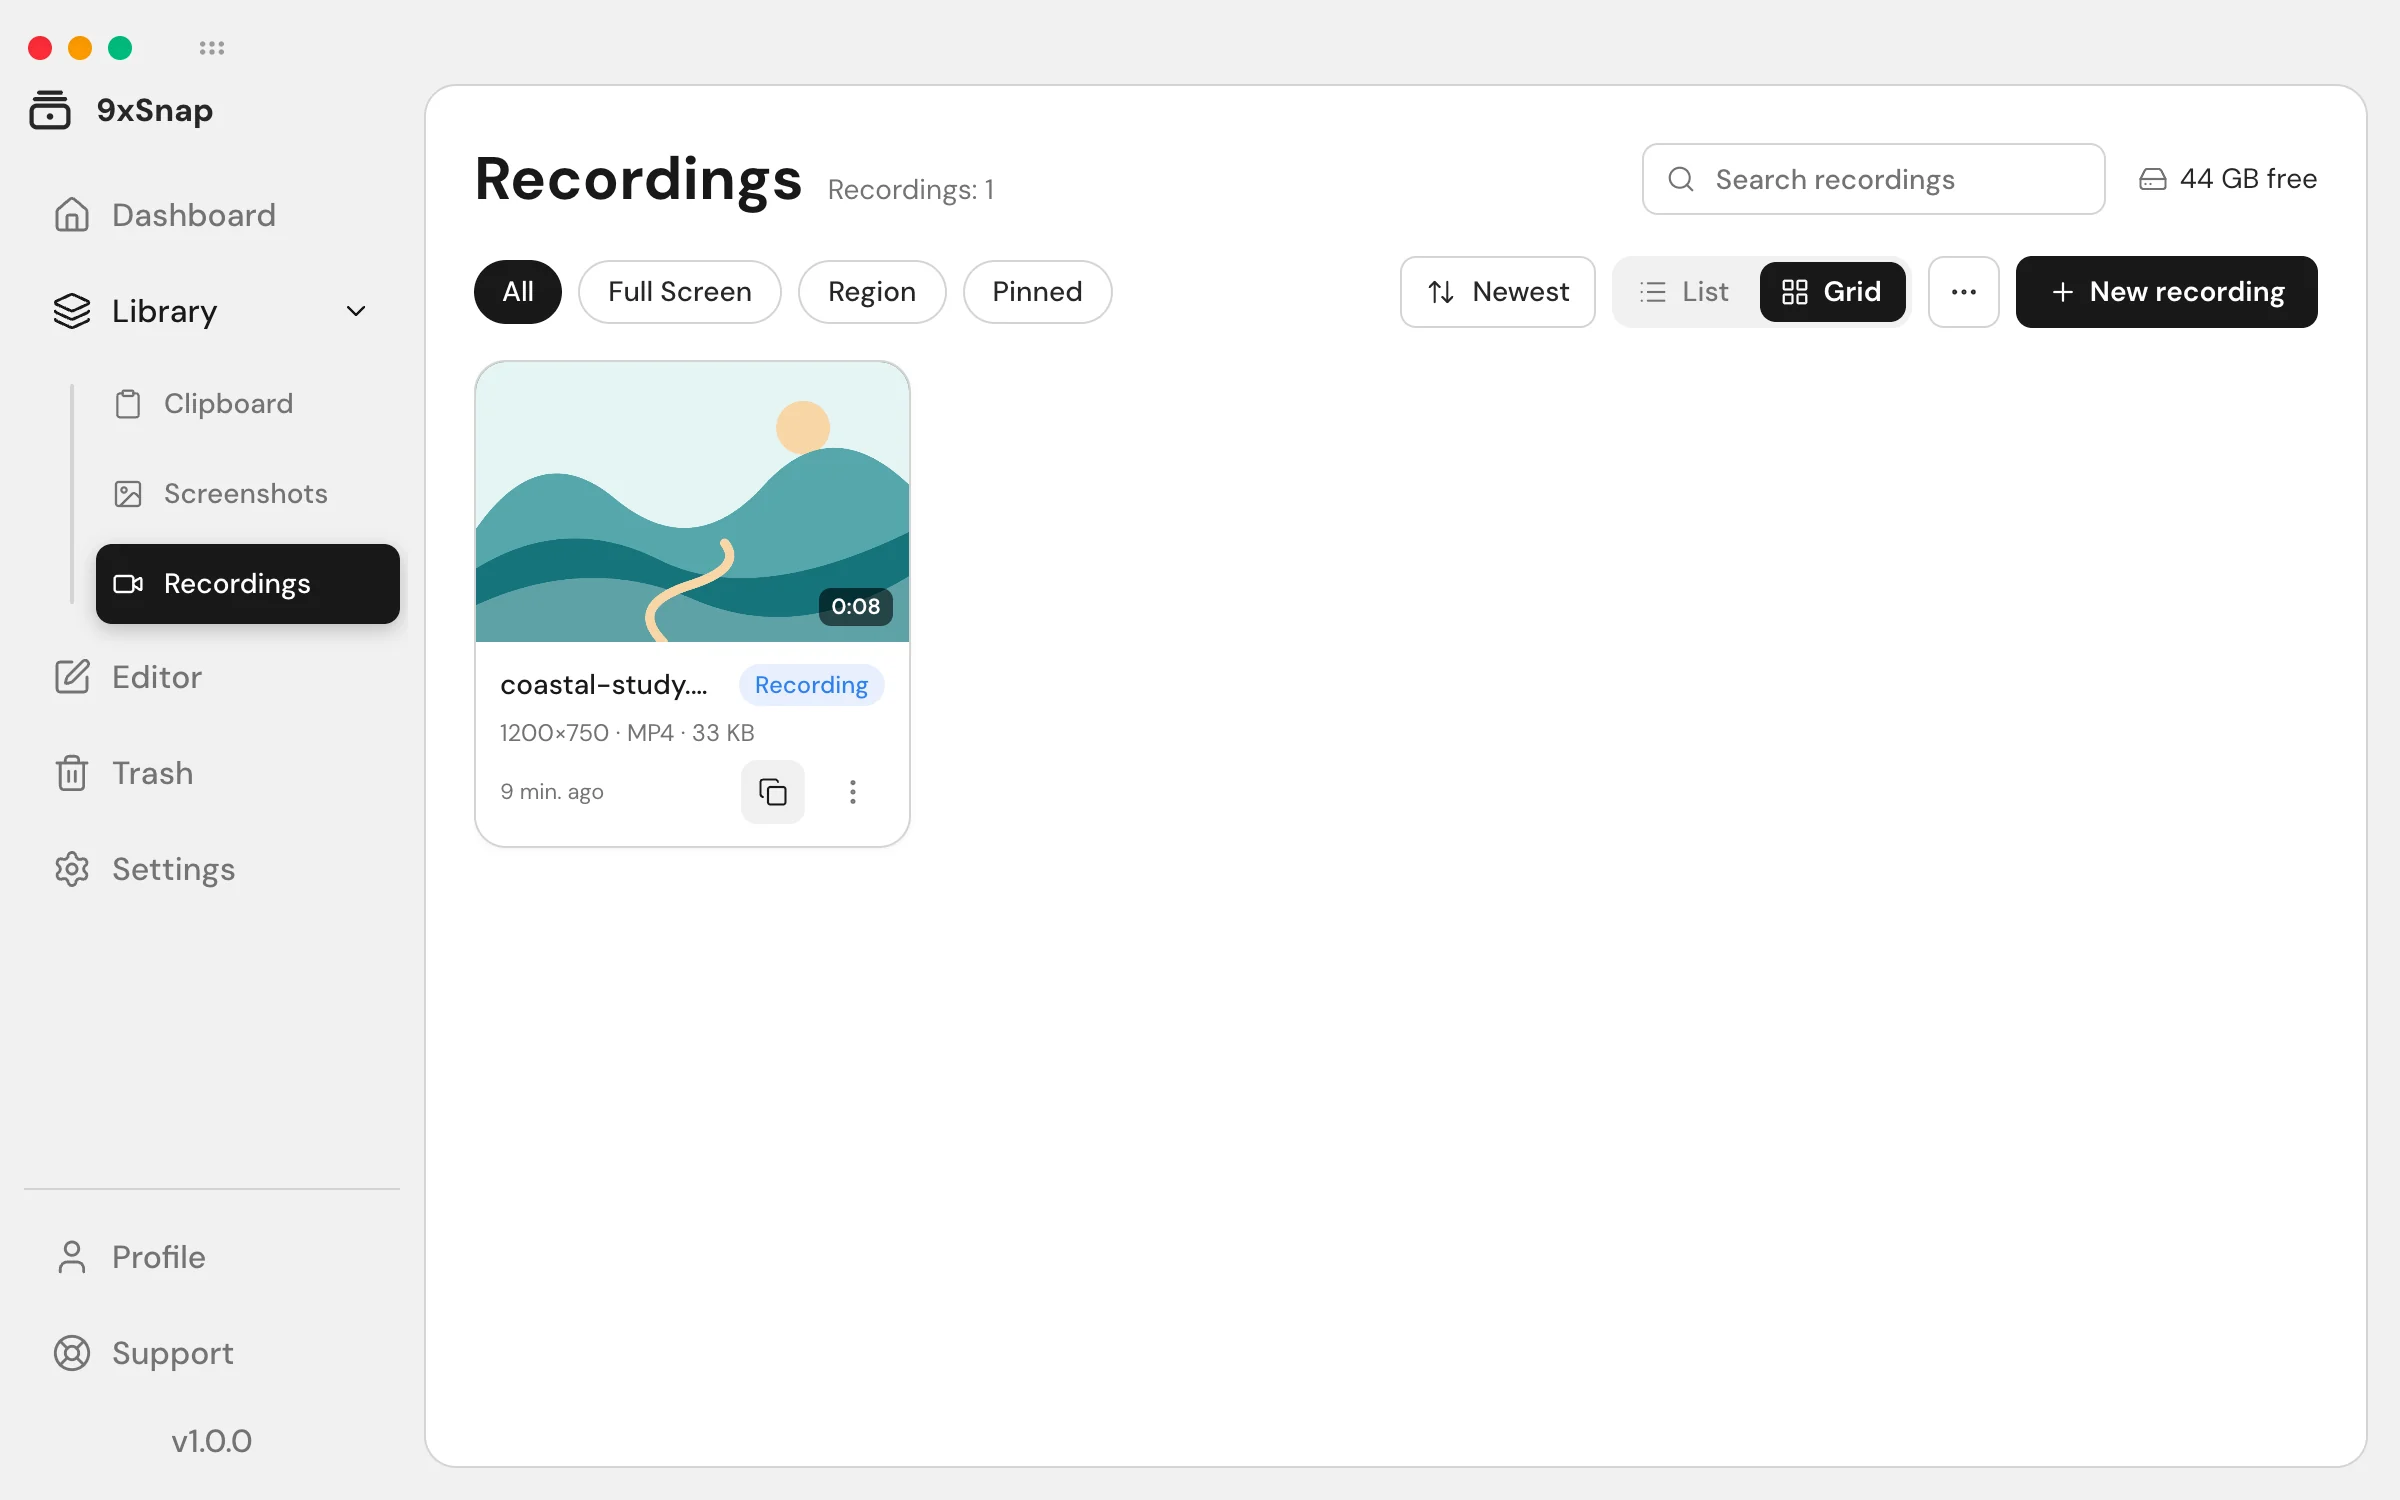
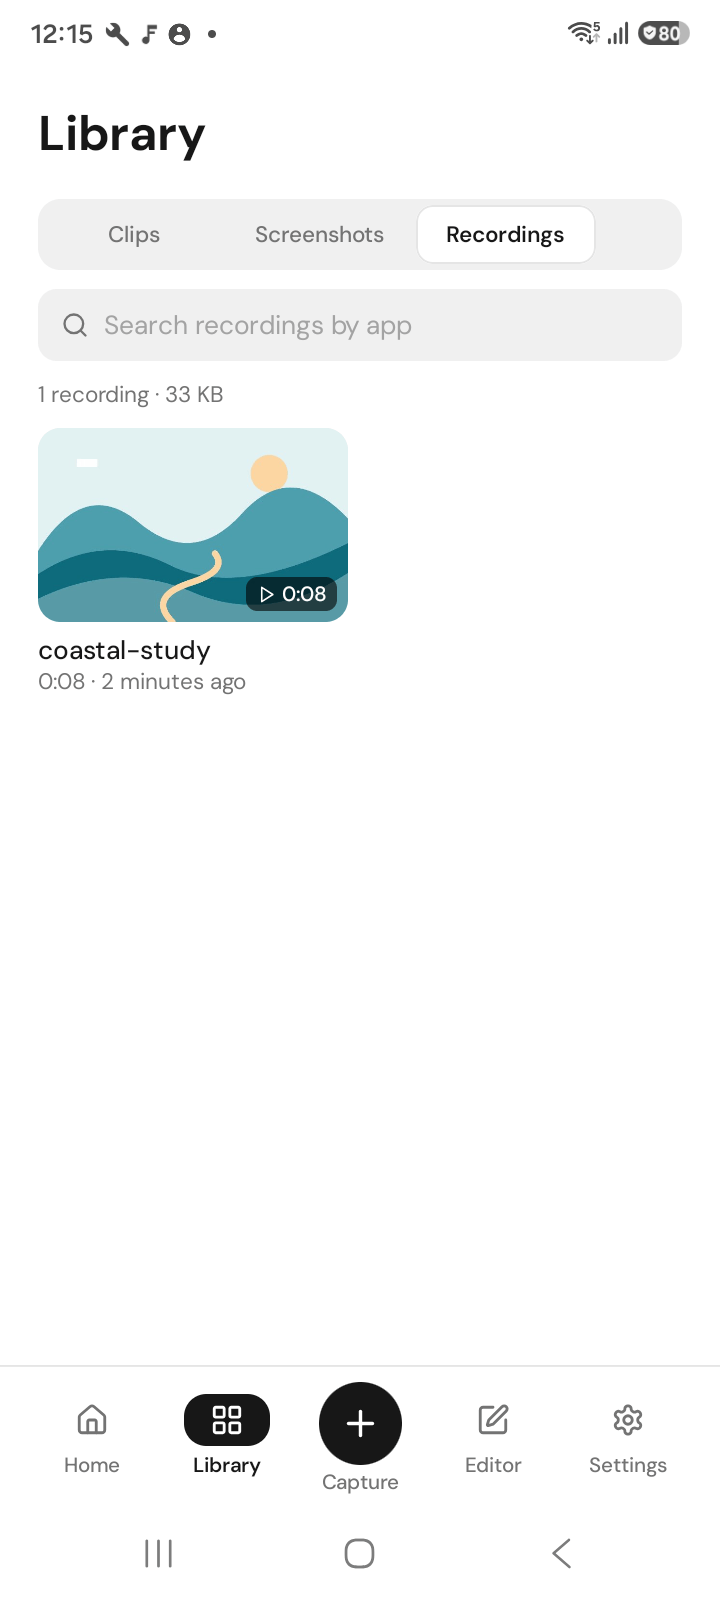
Recording is part of Pro.
Android
- Open the 9x menu, a Quick Settings tile, a shortcut or the record button in the app.
- Choose the sound: microphone, device audio or both.
- Optionally record a region and turn on show taps.
- Start. Pause and resume from the recording pill. Stop to save it.
Stopping a recording is always available, even if your Pro access ends mid-recording. Then trim, crop, speed up and export it in the video editor.
Android asks for screen-capture consent each time you start a recording.
Record on desktop
- Open the recording quick panel from the tray or your recording shortcut.
- Choose the screen, window or region you want to record.
- Review the quality/output step and the microphone option.
- Check the summary and start. Stop from the recording pill, tray or stop shortcut.
Closing the quick panel does not stop an active recording. Use the recording controls, then wait for the saved item in Recordings.
Sound is missing
On Android, check microphone permission and the selected sound mode. Device audio depends on the app allowing capture and actually playing sound; choosing Both cannot override an app's restriction. Desktop exposes a microphone option: do not assume Android's device-audio choices also exist there.
Keep the useful part
Open the saved result in the video editor to trim, crop or change speed. Export a new copy rather than replacing the recording. Recording, editors and export require Pro; Free provides basic screenshots and recent history, while Pro adds full history.