
Screenshots
Full screen, a region, one app or on a timer.
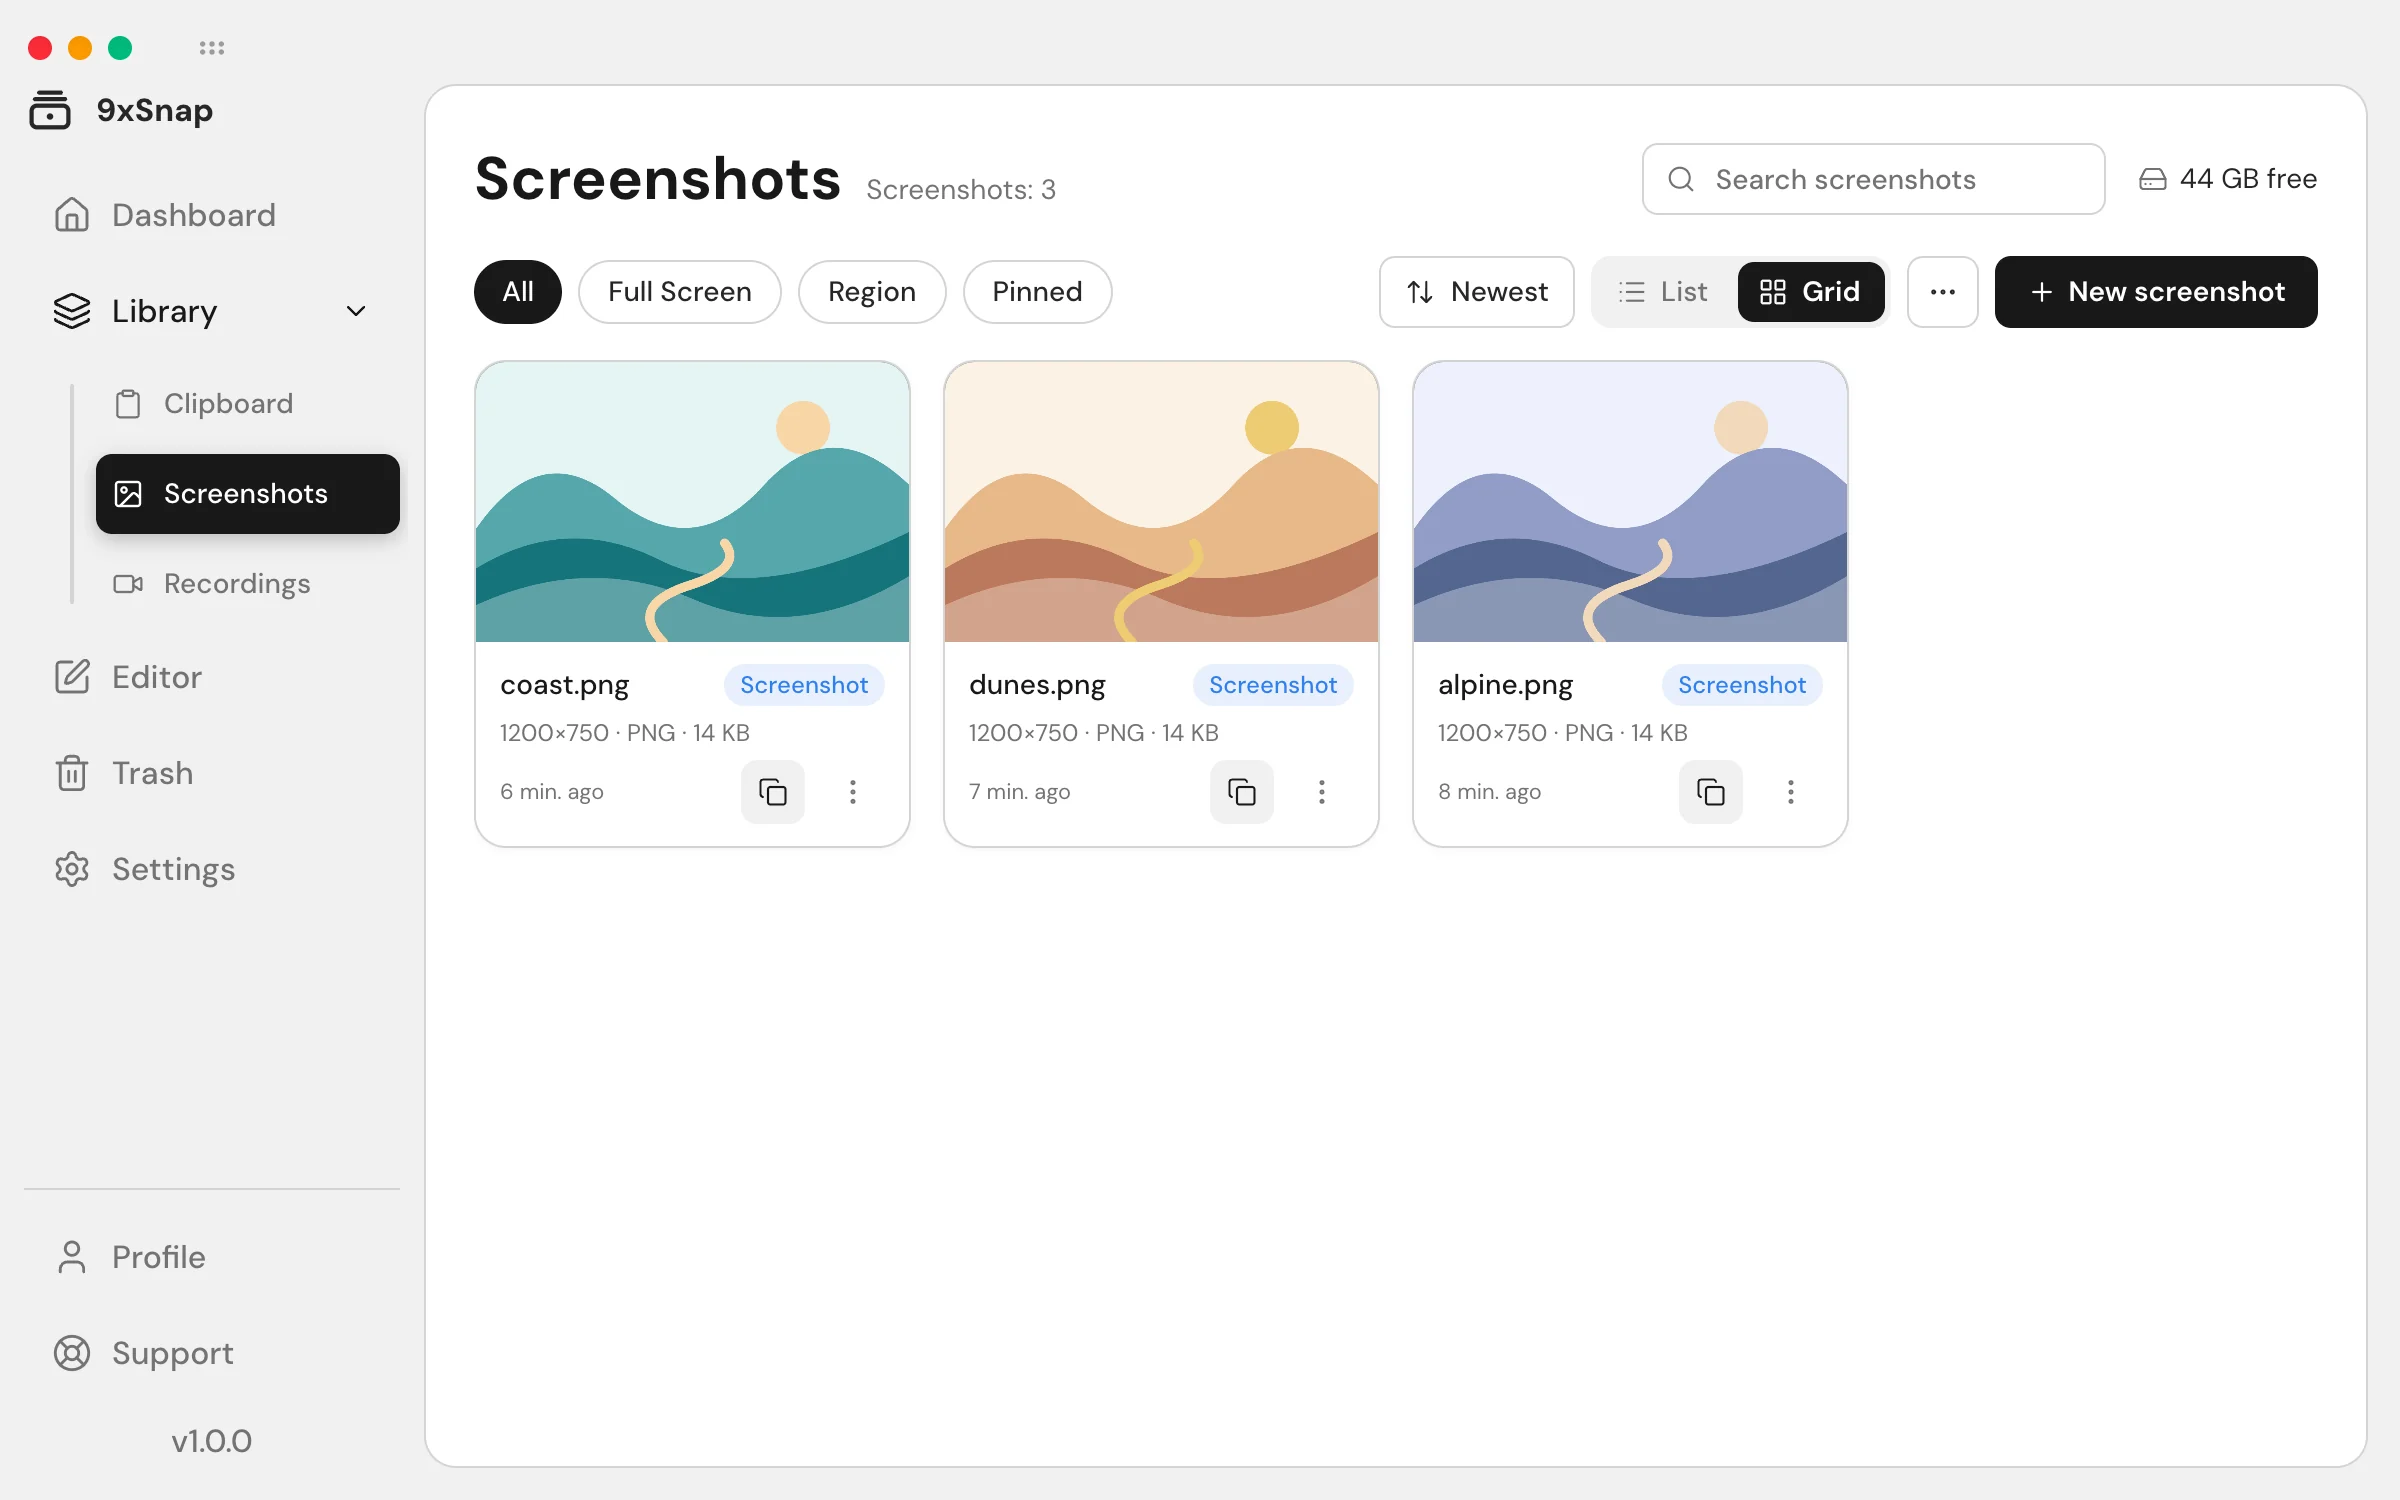
On desktop, full-screen and region screenshots are basic capture. Capturing one window requires Pro.
Android
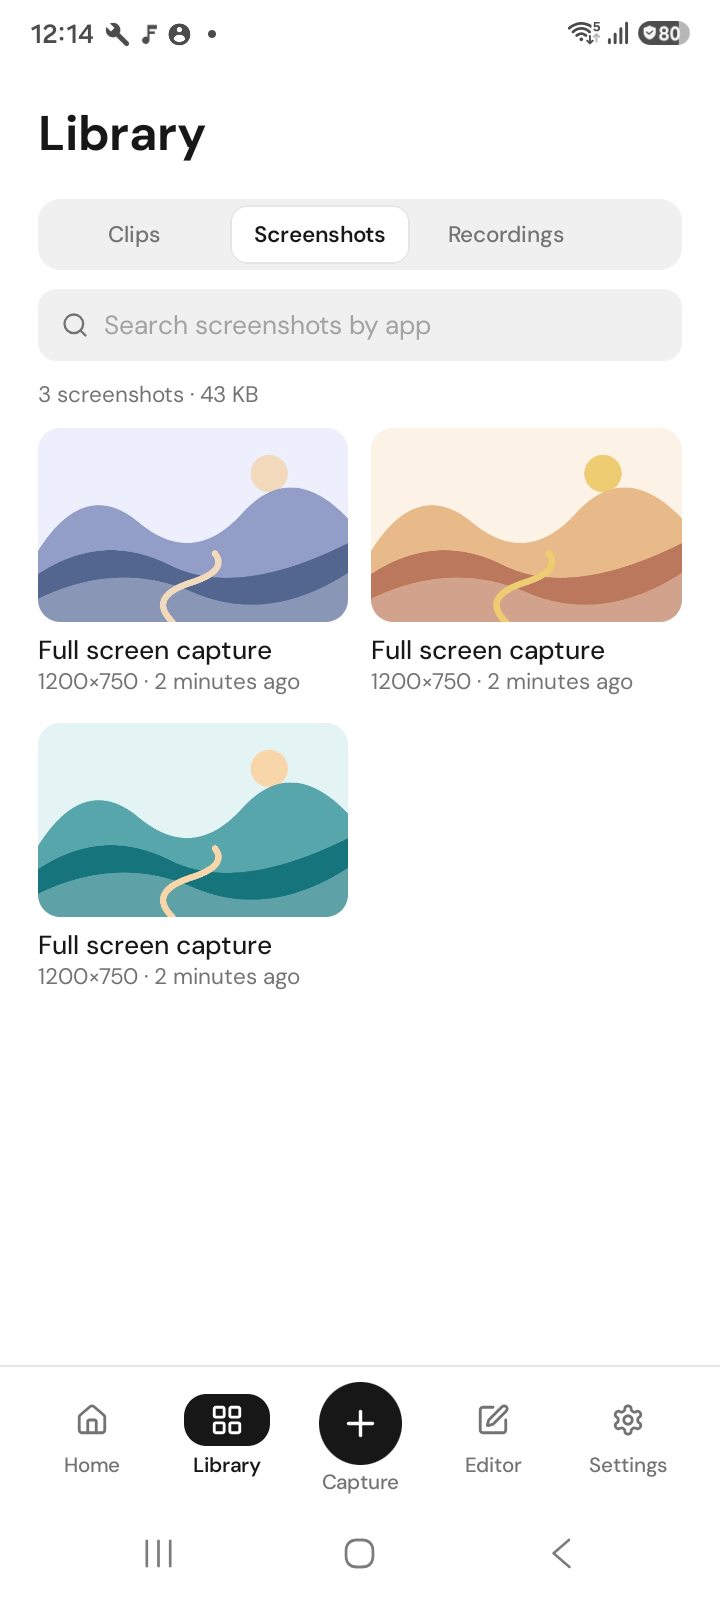
Timer and scrolling screenshots are Android-only. On Android you can choose full screen, a region or one app; scrolling depends on the app being captured.
Take screenshots from the app, a Quick Settings tile, a shortcut or your volume keys.
Choose the capture area first, take the screenshot, then open the saved image in your history. Use the editor for annotations or cropping; basic capture does not require the editor.
Some apps, such as banking apps, block screenshots. Android enforces that and 9xSnap does not try to bypass it.
Edit a screenshot with the editors. The original is never changed.
Capture a region on desktop
- Open the screenshot quick panel from the tray or a shortcut.
- Choose the region mode.
- Drag around the part you want, then complete the capture.
- Open Screenshots in Library to find the result.
Use full screen when the whole display matters, a region for a precise area, or window capture with Pro for one window. On macOS, allow Screen Recording in system settings if capture access is missing.
Prepare an Android capture
Choose the area before the timer starts. Use the timer to arrange the screen after choosing the area. Scrolling capture is Android-only and depends on the target app; use an ordinary screenshot if scrolling is unavailable.
Check the saved result
Review the image before sharing, especially around the selected edges. Basic capture and recent history are Free; full history and editing/export are Pro. If Android refuses a protected screen, choose content the app permits you to capture rather than trying to bypass the restriction.